August 2, 2026
Pantry Organization Ideas That Actually Stay Organized
You organized the pantry three weeks ago. You remember it clearly — the matching bins, the labels, the satisfying moment when everything finally had a home. Now there's a half-open box of crackers wedged sideways on the top shelf, two nearly-empty bottles of oil, and something in the back you're honestly afraid to identify.
You didn't fail. Your system did.
Most pantry organization ideas are really just pantry decoration ideas. They look beautiful on day one and quietly collapse by week three, because nobody designed them around how your family actually reaches for food at 6:40 on a Tuesday evening. A pantry that stays organized isn't the prettiest one. It's the one that's easier to use correctly than incorrectly.
In this guide, you'll get the full six-step framework we use in real homes: how to empty and assess, what to actually remove, how to build zones around your family's habits, which containers earn their space, how to label so other people can follow it, and how to stock and maintain so it holds for months instead of weeks.
Want Smart Pantry Management?
Join the Sorted & Stocked app waitlist and never lose track of your pantry items again.
The Pantry Organization Framework
Here's the core idea, and everything else in this article follows from it: an organized pantry is a system, not an arrangement.
An arrangement is a snapshot. Someone put things in nice places once. The moment a new grocery order arrives, or a different person unloads the bags, or a kid grabs a snack in a hurry, the arrangement degrades. There's no rule telling anyone where things belong — just a memory of how it looked.
A system has three properties an arrangement doesn't:
- It's obvious. Anyone can tell where something goes without asking.
- It's forgiving. It still works when it's 80% followed, not just 100%.
- It has a reset. There's a defined, quick way to bring it back to baseline.
We work through six steps in a specific order, and the order matters. Skipping ahead to containers — which is where almost everyone starts, because that's the fun part — is the single most common reason pantries fall apart. You end up buying storage for items you should have removed, in a layout you haven't decided on yet.
The six steps:
1. Empty and assess 2. Declutter with clear criteria 3. Plan your layout in zones 4. Choose containers that fit the zone 5. Label for other people, not for yourself 6. Stock strategically
Then maintenance, which is its own discipline and gets its own section below.
Set aside three to four hours for a standard reach-in or small walk-in pantry. A large walk-in with overflow storage may take a full day. Don't start at 8 p.m. — you'll be making decisions at exactly the hour your judgment is worst.
Step 1: Empty and Assess
Take everything out. All of it.
This step gets skipped constantly, and it's the one that makes the rest possible. Working shelf by shelf feels efficient, but it locks you into the layout you already have — the layout that stopped working. You can't redesign a space you can't see.
Do this in order:
1. Clear a staging surface. Kitchen table, island, dining table. You need more space than you think. 2. Remove everything, grouping as you go. Don't sort carefully yet — just keep like with like. All the pasta together, all the canned goods together, all the baking supplies together. 3. Wipe down every shelf. Crumbs, sticky rings, dust. Let it dry fully before anything goes back. 4. Take a photo of the empty space. You'll want it when you're planning zones, and it's genuinely useful for measuring later. 5. Measure. Shelf depth, shelf height, shelf width, and the distance between shelves. Write it down. This determines your container options entirely, and guessing here is what leads to a return trip to the store.
What you'll learn from the assessment
Once everything is grouped on a table, patterns show up that were invisible on the shelf:
- The duplicates. Nearly every pantry we open contains three of something. Three bottles of vanilla, four boxes of the same cereal, two open bags of flour. This isn't a character flaw — it's the direct result of not being able to see what you own when you're at the store.
- The dead zone. There's almost always one shelf or corner where things go to be forgotten. Usually it's too high, too deep, or blocked by something bulky.
- The real ratio. You may discover your pantry is 40% baking supplies when your family bakes twice a year, or that snacks — the most-accessed category in the house — have been assigned the worst shelf.
Write down your top three findings before moving on. They'll drive your zone plan in Step 3.
Step 2: Declutter Ruthlessly
"Just declutter" is useless advice. Nobody's stuck because they don't know that removing things helps. They're stuck because in the moment, every individual item has a reason to stay.
So use criteria instead of feelings. Here are the four we use, in order:
1. Expired or past its real usefulness
Check dates, but don't stop at dates. Flour and nuts go rancid well before they look wrong — nuts and whole-grain flours are best kept in the freezer for anything beyond a couple of months. Ground spices lose most of their punch after a year or two even though they never technically "expire." Opened oils degrade faster than sealed ones.
Rule: If you'd hesitate to serve it to a guest, it goes.
2. Never going to be eaten
The specialty ingredient bought for one recipe. The health food that turned out to taste like health food. The three cans of something nobody in the house likes.
Rule: If it's been untouched for a year and it's still sealed and in date, donate it. If it's open, it goes. Local food pantries generally accept unopened, in-date, unopened-packaging shelf-stable items — call first to check what they take.
3. Doesn't belong in the pantry
Pantries collect non-food items with remarkable speed: batteries, light bulbs, medicine, vases, that appliance you use twice a year, party supplies. Every one of those is occupying space that food needs.
Rule: If it isn't food or directly food-adjacent (storage bags, foil, paper goods), it gets relocated — not discarded, just moved to where it actually belongs.
4. Duplicates beyond what you'll use
Two backups of a staple is a stocked pantry. Six is a storage problem.
Rule: Keep what you'll use before it expires. Consolidate open packages of the same item immediately.
The part nobody tells you
Some of this is going to feel wasteful, and that feeling is real — especially if you were raised not to waste food. Two things help:
First, the waste already happened. It happened at purchase. Keeping the item on the shelf doesn't undo it; it just adds a storage cost on top.
Second, take one note. Before you toss the third bottle of sesame oil, write down "we always over-buy sesame oil." That note is worth more than the oil. It's the beginning of an inventory habit, which is the actual fix.
Step 3: Plan Your Layout (Zones)
This is where a pantry stops being storage and starts being a system.
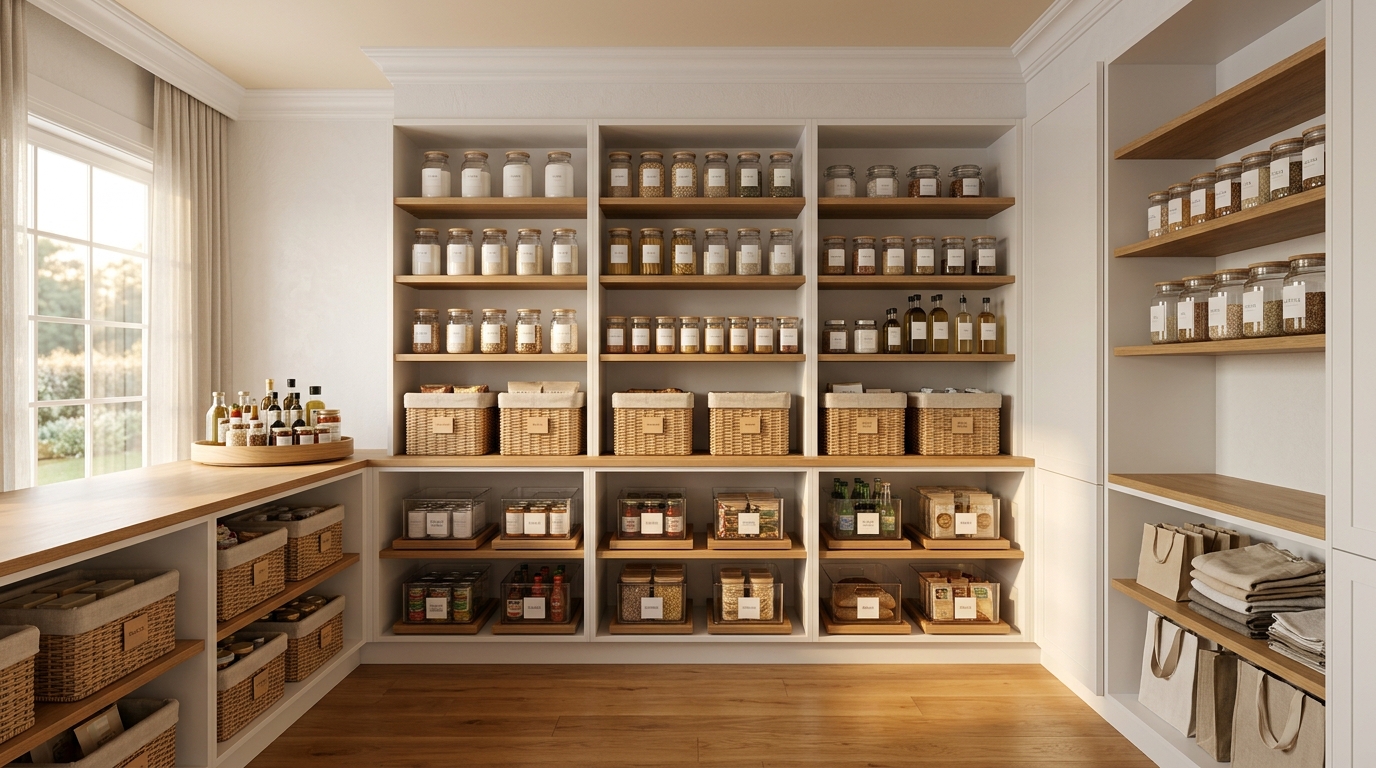
A zone is a defined area assigned to one category, positioned according to how often you reach for it. Zones work because they replace memory with location. You don't need to remember where the rice is — rice lives in the grains zone, and the grains zone is always in the same place.
The reach hierarchy
Not all shelf space is equal. Rank yours honestly:
- Prime real estate (eye level to chest height): What you use daily. Snacks, breakfast items, the coffee and tea situation, everyday cooking staples.
- Good (waist to eye level, and the shelf just below eye level): Weekly-use items. Canned goods, pasta and grains, oils and vinegars.
- Acceptable (low shelves): Heavy items and bulk. Large bags of flour, cases of drinks, big appliances. Low is fine for heavy — you don't want to lift a 10-pound bag down from overhead.
- Poor (top shelf, deep back corners): Backup stock and genuinely occasional items. Holiday baking supplies, the pressure cooker, seasonal specialties.
The most common layout mistake: putting the prettiest items at eye level and the most-used items wherever they fit. Reverse it. Function first.
A zone set that works in most homes
Adapt these to your family's actual eating patterns, not an idealized version of them:
- Breakfast zone — cereal, oatmeal, spreads, coffee and tea supplies. Position near where breakfast gets made.
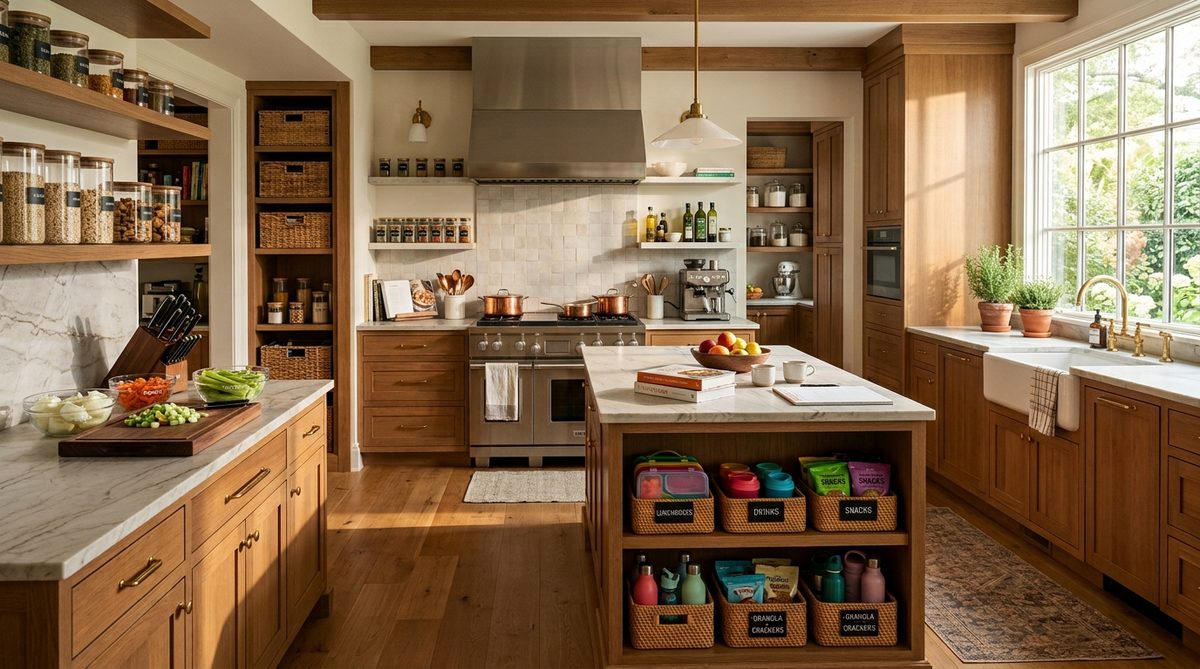
- Snack zone — this one has a specific requirement: it should be reachable by whoever grabs snacks. If that's a seven-year-old, put it low. A snack zone that requires a parent is a snack zone that generates interruptions.
- Grains and pasta — rice, pasta, quinoa, couscous, dried beans.
- Baking zone — flour, sugar, leaveners, extracts, chocolate chips, sprinkles. Group tightly; baking is an all-at-once activity.
- Canned and jarred goods — tomatoes, beans, broth, sauces.
- Oils, vinegars, and condiments — keep near the cooking area if the pantry allows.
- Backup stock — the second and third of everything, in one designated place so restocking is a single glance.
Zones for kosher kitchens
If your kitchen runs fleishig, milchig, and pareve, the pantry needs to reflect that separation clearly enough that a guest or a new staff member can't get it wrong. Two practical approaches:
- Vertical separation — dedicated shelves per designation, top to bottom, with the labeling doing the heavy lifting.
- Color coding — a consistent color per designation applied to labels and bin edges, used identically throughout the kitchen so the pantry matches the drawers, the fridge, and the dish storage.
The critical part is consistency across the whole kitchen, not just inside the pantry. A system that changes meaning from one room to the next isn't a system.
Need a Starting Point?
Download our free Pantry Organization Checklist with product recommendations and layout tips.
Download The Pantry Organization Checklist
Step 4: Choose the Right Containers
Now — and only now — containers.
Containers are tools, not decor. A container earns its place if it does one of four jobs: makes something visible, makes something reachable, protects food, or defines a boundary. If it doesn't do one of those, it's just a nicer-looking way to lose things.
What to decant, and what to leave alone
Worth decanting into clear containers:
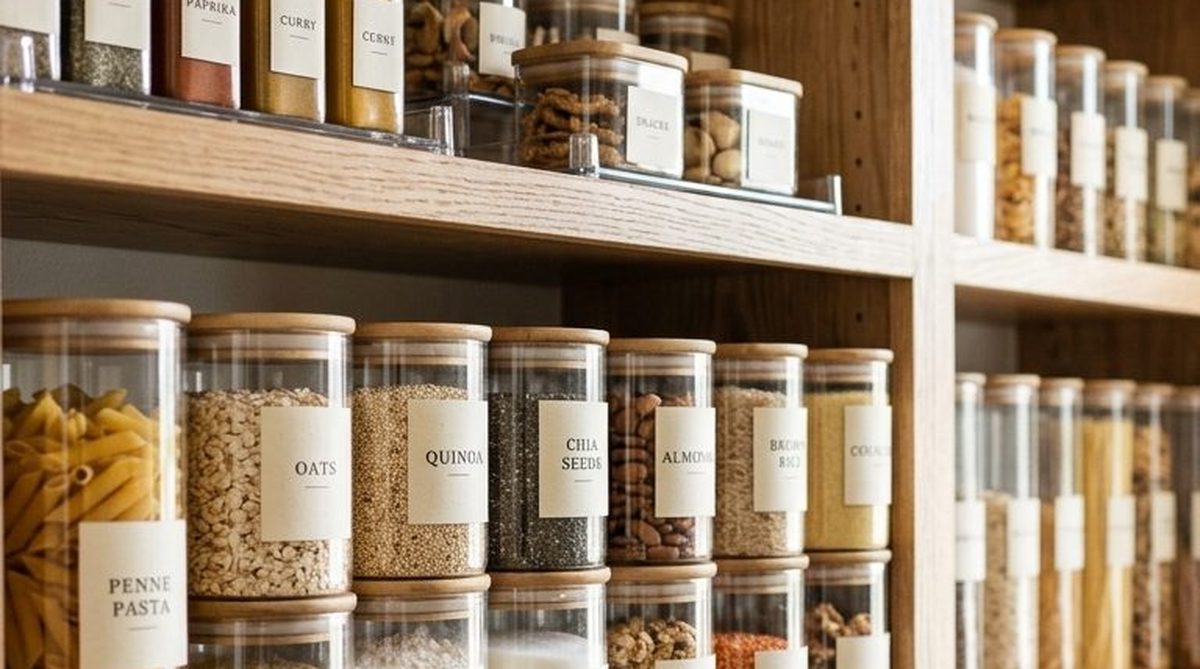
- Flour, sugar, rice, oats, and other dry staples you buy in bags. Bags tip, tear, and can't be stacked. Airtight containers genuinely extend freshness and eliminate the half-open-bag problem entirely.
- Pasta, if you use it constantly.
- Snacks bought in bulk and portioned out.
Not worth decanting:
- Canned goods. They're already sealed, stackable, and labeled.
- Anything with cooking instructions you'd need to keep — unless you cut the instructions out and tape them inside the lid. Do this before you throw the box away, not after you've made rice wrong twice.
- Items you buy once a year.
- Anything you'd have to buy a container for that costs more than the food inside it.
Be realistic about the transfer cost. Decanting means every grocery trip now ends with a pouring step. Some families genuinely do this and love it. Others do it for two weeks and then start stacking bags on top of the beautiful empty canisters. If you're in the second group, that's useful information — buy fewer canisters and use bins instead.
Bins do the heavy lifting
For most pantries, open bins are the highest-value purchase, not airtight canisters. A bin creates a boundary. Everything inside the "baking" bin is baking. When the bin is full, that category is at capacity — which is a built-in signal to stop buying.
What to look for:
- Depth matched to your shelf. A bin deeper than the shelf sticks out. A bin much shallower wastes space behind it. This is why you measured.
- Handles, if the bin sits above eye level. You'll be pulling it down blind.
- Open tops for high-turnover categories. Lids add friction, and friction is what breaks systems.
- Clear or labeled fronts. If you can't tell what's in it without opening it, it will get opened, dug through, and left messy.
Other pieces that actually earn space
- Lazy Susans for oils, vinegars, and condiments — anything where reaching to the back is otherwise a two-hand operation.
- Tiered shelf risers for canned goods and spices, so the back row is visible.
- Under-shelf baskets to reclaim vertical air on tall shelves.
- Door racks for spices and small jars, if your pantry has a door with clearance.
Measure before you buy. Then measure again. The single most common pantry setback is a container haul that doesn't fit, which stalls the whole project by a week and quietly kills momentum.
Step 5: Label Everything
Labeling is the step people treat as optional decoration. It's actually the step that determines whether the system survives other people.
Here's the test: if someone who doesn't live in your house unloaded your groceries, could they put everything away correctly?
If the answer is no, you don't have a system. You have a system that lives in your head, and it will degrade every single time you're not the one putting things away.
What to label
- Every bin and zone. This is non-negotiable. Bins without labels become miscellaneous within a month.
- Every decanted container — with contents and the date you filled it.
- Shelf edges, for zones that span a whole shelf.
How to label well
- Use category names, not item names. "Baking" outlasts "Flour + Sugar," because the contents shift and the category doesn't.
- Keep it readable from a standing distance. If you have to lean in, it's too small.
- Front-facing, consistent placement. Same spot on every bin. Your eye learns the pattern.
- Include dates on anything decanted. A container of flour with no date is a container of flour of unknown age.
If your household includes staff or helpers
Label bilingually. If the people maintaining your kitchen read Spanish more comfortably than English, an English-only label system guarantees errors that get blamed on the person rather than the system. Two lines per label — English and Spanish — removes an entire category of daily friction, and it costs nothing but a slightly larger label.
The same principle applies to any household with multiple caregivers, grandparents who help, or older kids with real kitchen responsibilities. Label for the least-informed person who will ever open that door.
Step 6: Stock Strategically
An organized pantry that's stocked at random still generates emergency store runs. Stocking is where organization turns into actual time savings.
Build a real staples list
Write down what your household genuinely uses in a typical two-week stretch. Not what you'd like to cook — what you actually cook. For most families this is a surprisingly short list: fifteen to thirty items covering most weeknight dinners.
Then set a simple threshold for each: when you're down to one, it goes on the list. Not when you run out. One is your buffer.
Practice first-in, first-out
When new stock arrives, the new goes behind the old. Every time. This is a ten-second habit that eliminates most expired-food waste on its own.
For deep shelves, this is genuinely hard without help. Tiered risers and pull-out bins make FIFO possible instead of theoretical.
Keep backup stock in one place
Give backups a single defined home. When you need to know whether you have another jar of tomato sauce, you check one place, not five. This is also what makes the pantry legible to anyone else in the house.
Track it, or accept that you'll re-buy
The duplicate problem in Step 1 has exactly one durable fix: knowing what you have when you're standing in the store. Written lists work for small pantries. Beyond that, a pantry inventory system — one that's actually maintained — is what stops the cycle.
This is also where organization connects to the rest of the household. Once you know what's in the pantry, meal planning systems stop being aspirational and start being a matter of looking at what you have and building the week around it.
Maintenance: Keeping Your Pantry Organized
Systems don't fail dramatically. They fail one shortcut at a time — one bag left on the counter, one item put in the wrong bin, one grocery order unloaded in a hurry.
Maintenance is what absorbs those shortcuts.
The five-minute weekly reset
Once a week, ideally right before you shop or plan meals:
1. Return anything that's in the wrong zone. 2. Consolidate open packages of the same thing. 3. Pull anything expired. 4. Scan for what's down to one and add it to the list. 5. Face labels forward.
Five minutes. Set a timer if it helps. The reset is the single highest-return habit in this entire article — it's what prevents the three-week collapse.
The seasonal deeper pass
Four times a year, spend thirty minutes:
- Wipe shelves properly.
- Check dates across the whole pantry.
- Ask whether the zones still match your life. Kids' snack needs change. Schedules change. School years change everything.
- Adjust one thing that's been irritating you.
Make everyone's job possible
If the system only works when you run it, it doesn't work.
- Show each family member their zones — specifically the ones they use.
- Keep the snack zone genuinely kid-reachable.
- Say the rule out loud: everything goes back to its labeled home.
- Accept 80%. A pantry that's 80% right permanently is far better than one that's 100% right for two weeks.
Common Pantry Mistakes
These are the ones we see most often, and each has a direct fix.
1. Buying containers first. You'll buy the wrong sizes for a layout you haven't designed. Fix: containers are Step 4, not Step 1.
2. Organizing by appearance instead of frequency. Beautiful at eye level, essential on the top shelf. Fix: rank shelves by reach, then assign by how often you use it.
3. Deep shelves with no retrieval plan. Anything past arm's reach is functionally lost. Fix: risers, pull-out bins, or Lazy Susans — or store only bulk backups in the deep space.
4. Over-decanting. Twenty canisters that each require a pouring ritual after every grocery trip. Fix: decant high-turnover staples only.
5. No labels. The system exists only in your head. Fix: label every bin, every zone, every decanted container.
6. No designated backup zone. Duplicates scatter, and you re-buy what you own. Fix: one home for all backup stock.
7. Treating it as a one-time project. This is the big one. Organizing is an event; staying organized is a habit. Fix: the weekly five-minute reset.
8. Building a system only you can run. Fix: label for the least-informed person, and involve the household in the setup so they understand the logic.
Frequently Asked Questions
How long does it take to organize a pantry?
A standard reach-in pantry takes three to four hours if you work straight through. A large walk-in with overflow storage can take a full day. The decluttering step takes longest — expect roughly half your total time there, since every item is a decision.
What are the best containers for pantry organization?
Open bins with handles handle the most work in most pantries, because they define categories without adding friction. Airtight clear canisters are worth it specifically for dry staples like flour, sugar, rice, and oats. Measure your shelf depth and height before buying anything — mismatched containers are the most common reason a pantry project stalls.
How do I keep my pantry organized long-term?
Do a five-minute weekly reset: return misplaced items, consolidate open packages, remove expired food, note what's running low, and face your labels forward. This one habit prevents the gradual drift that undoes most pantry organization within three to four weeks.
Should I decant everything into containers?
No. Decant high-turnover dry goods that come in bags — flour, sugar, rice, oats, pasta. Leave canned goods, infrequently used items, and anything whose cooking instructions you need. Every decanted item adds a step to every grocery trip, so only take on that cost where it genuinely pays off.
How do I organize a pantry with deep shelves?
Deep shelves need retrieval tools, not just containers. Use tiered risers so back rows stay visible, pull-out bins so the back comes to you, and Lazy Susans for bottles and jars. Reserve the deepest space for backup stock you access rarely, and keep daily-use items in the front-accessible portion.
What's the best way to organize a pantry on a budget?
Start with decluttering, which costs nothing and often frees up 20–30% of your space. Then label your existing shelves into zones using inexpensive labels. Add containers gradually, buying only for the specific problem you've identified — usually deep-shelf visibility and category boundaries — rather than buying a full matching set upfront.
How do I organize a pantry so my kids can help?
Put the snack zone at a height your youngest can reach independently, use picture labels alongside word labels for pre-readers, and keep kid-accessible categories in open bins with no lids. Children follow systems reliably when the system doesn't require an adult — the friction, not the willingness, is usually what stops them.
Ready for a Home That Works For You?
A pantry is usually where families start, because it's the space that misbehaves most visibly. But the same principle applies everywhere in the house: the system has to survive the people using it.
That's what we build. Not a beautiful afternoon, but zones, labels, and routines that hold up on a Tuesday when everyone's tired and nobody's thinking about organization at all.
- ✓ Professional Organizing — whole-home or single-space, built around how your family actually lives
- ✓ Moving & Unpacking — set up correctly the first time, so you're not reorganizing in six months
- ✓ Household Management — task systems, checklists, and bilingual SOPs your staff can run
- ✓ Ongoing Support — because maintenance is the part that actually determines whether it lasts
Sort + Place is a professional organizing and household management practice serving families in Lakewood, New Jersey and the surrounding tristate area.